
Do you ever crave a crunchy, tangy snack that’s also healthy?
Pickling your own vegetables at home is an easy way to make sure you always have a delicious and nutritious treat.
And pickled Brussels sprouts are one of the tastiest snacks out there!
In this step-by-step guide, we will show you how to pickle Brussels sprouts in no time.
So grab some mason jars and vinegar – let’s get pickling!
How To Pickle Brussels Sprouts At Home
Pickling Brussels sprouts is a great way to add a delicious crunch and tartness to your meals. Here’s how to do it step by step:
- Start by washing the Brussels sprouts under cool, running water, and then pat them dry with a clean towel.
- Put the Brussels sprouts in a sterile mason jar or another container that can be sealed tightly.
- Heat white vinegar, water, salt, and any spices or herbs you would like to use in a saucepan over medium heat until it boils.
- Pour the hot liquid into the Mason jar over the top of the Brussels sprouts until they are fully submerged. Place the lid on the jar and seal it tightly.
- Leave it out at room temperature for 24 hours before storing away in the refrigerator for up to 3 months.
Introduction to Pickled Brussels Sprouts: What You Need to Know
Are you a Brussels sprouts lover on the lookout for an exciting new way to enjoy this vegetable?
Look no further than pickled Brussels sprouts!
Pickling has become increasingly popular over the last few years, and now you can get all of that amazing flavor in your favorite veggie.
Not only do pickled Brussels sprouts taste great, but they also provide a healthy dose of vitamins A and C.
Plus, their crunchy texture is sure to be a hit with everyone at your next dinner party. So why not give them a try today?
Gather Your Supplies and Ingredients
Getting ready to cook a delicious meal can be an exciting adventure!
Before you begin, it’s important that you have all the supplies and ingredients necessary.
Make sure your knives are sharpened, your cutting board is clean, and you’ve got measuring spoons handy.
Then take a few minutes to check through your pantry and refrigerator — double-check that you have everything on hand so there won’t be any surprises later.
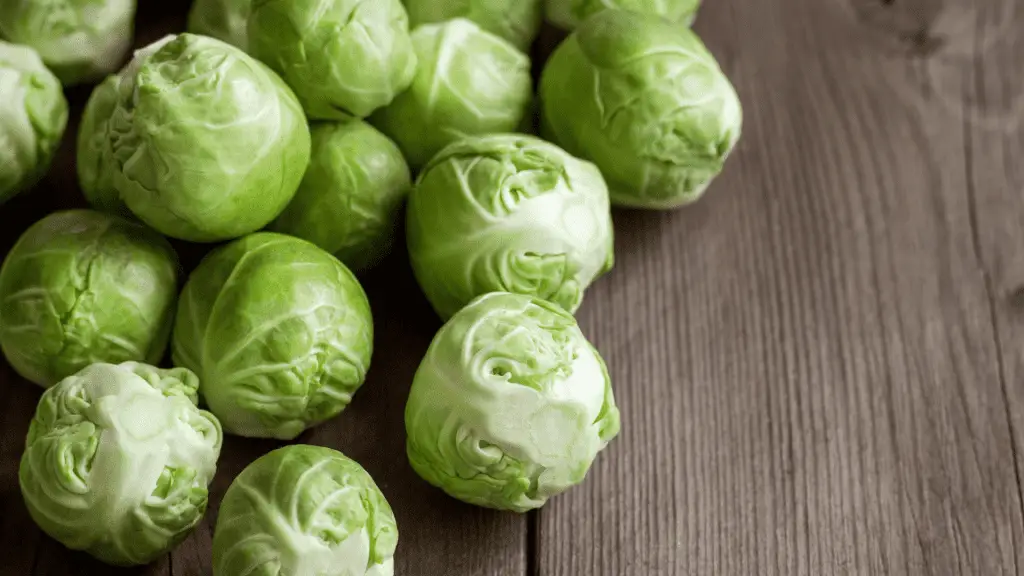
Preparing the Brussels Sprouts for Pickling
Ah, Brussels Sprouts – one of my favorite vegetables! I’m so excited to pickle them today.
Before I get started, though, I want to make sure they’re the right texture and flavor for pickling.
To do that, I need to give them a good clean and trim off any browning leaves or stems.
Then comes the fun part: simmering them in vinegar with garlic and herbs until they reach just the right level of crunchiness.
Making the Brine Solution
Making the brine solution for your next pickling project is a fun and rewarding experience.
It’s easy to do, and you can customize it however you want!
To start, gather all of the ingredients you need:
sea salt, water, sugar or honey (optional), peppercorns (optional), bay leaves (optional).
Then measure out 1/2 cup of sea salt into 2 quarts of warm water.
Stir until all the salt has dissolved. A
dd in any optional ingredients if desired and stir again until everything is combined.
Now your brine solution is ready to use!
Sterilizing Your Mason Jars & Lids
If you’re a fan of canning and preserving food, then you know that the process starts with sterilizing your jars and lids.
Not only is this important for safety reasons, but it also ensures that your food will be properly sealed in an airtight container so there won’t be any spoilage.
Although it might seem like a tedious task, sterilizing your jars and lids doesn’t have to take up too much of your time!
With just a few simple steps, you can get all of your containers clean and ready for use.
Here’s how:
- Start by washing the mason jar using hot soapy water.
- Rinse the jar with hot water and then let it dry completely.
- Place the jar in a large pot and fill it with enough water to cover the top of the jar by two inches.
- Bring the water to a boil and let it simmer for 10 minutes.
- Remove the jars from the boiling water and let them cool before use.
Filling the Mason Jars with Brussels Sprouts and Brine Solution
Filling up mason jars with fresh brussels sprouts and then adding brine solution is an easy, rewarding experience that will bring delicious results in no time.
The smell of the garlic, dill, and vinegar infusion is mouth-watering as you fill your jars.
You can even customize them to suit your personal tastes by adding different spices or herbs – it’s a great way to get creative in the kitchen! Pickling is also a great way to preserve your favorite produce for longer.
Storing, Enjoying, & Reusing Your Pickled Brussels Sprouts
Pickled Brussels sprouts are an incredibly delicious and versatile addition to your kitchen pantry.
Not only do they make for a great snack, but you can also use them in salads or as part of larger meals.
The best part is that pickling them doesn’t take long at all; most recipes call for just 15 minutes of cooking time before they’re ready to be enjoyed!
To get the most out of your pickled Brussels sprouts, it’s important to store them properly after you finish making them.
