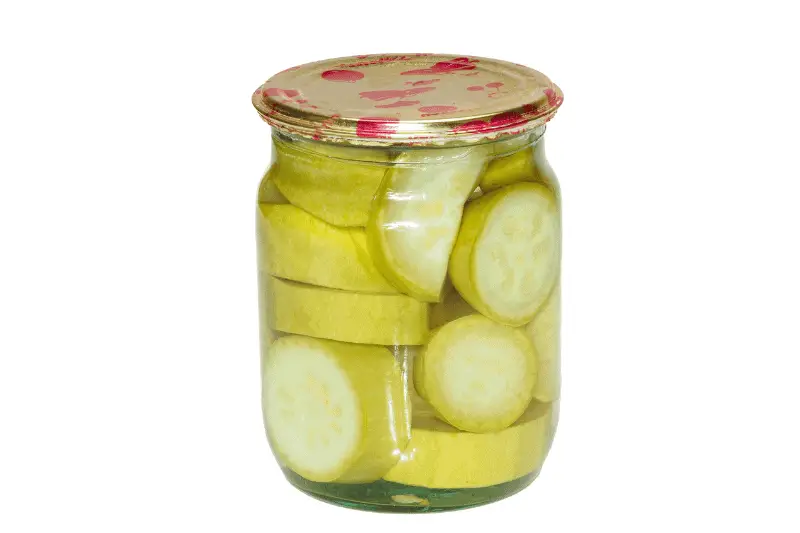
Do you love the tangy and crunchy taste of pickled squash?
If so, then this is the guide for you! In this article, we’ll be teaching you how to pickle squash at home in just a few simple steps.
We’ll provide tips on selecting the best type of squash for your pickling needs and help walk you through each step of the process until your delicious pickles are ready to eat.
So grab your ingredients, get out those canning jars, and let’s get started!

What Type of Squash to Use
Squash is versatile, packed with nutrients, and can be used in various dishes.
But before you start experimenting in the kitchen, it’s important to understand what type of squash works best for which recipes.
Whether you are roasting cubes or pureeing them into soup, there are certain types of squash that do better than others when cooked.
From sweet butternut to flavorful delicata – the options for deliciousness are endless!
How to Prepare the Squash for Pickling
Pickling squash is an easy way to extend the shelf life of your garden bounty.
Whether you’re looking for a fun canning project or just an easy snack, pickled squash is delicious and surprisingly simple.
The first step in making pickled squash is preparing it properly. Start by finding fresh summer squash with firm skins and no blemishes.
Then, cut off both ends and discard them before slicing your squash into thin rounds (about 1/8th inch thick).
Once you have all of your slices ready, go ahead and start the process of pickling.
The Pickling Process: Step-by-Step Instructions
First, bring equal parts white vinegar and water to a boil in a large saucepan.
While that’s boiling, add some sugar for sweetness (brown or white will work) and any other desired seasonings such as peppercorns, garlic cloves, or dill.
Once the mixture is boiling, lower it to a simmer and add your squash slices. Cook for 3-5 minutes or until the rounds are tender.
Remove from heat and place the pickled squash in a container or jar and allow to cool before refrigerating.
Your pickled squash should last up to two weeks in an airtight container in the refrigerator, so enjoy it while it lasts!
Do you have to blanch the squash before pickling?
Blanching is not necessary when canning squash, as long as the pickling solution is acidic enough to prevent bacteria growth.
However, blanching does help to lightly cook the squash and make it more tender, so it’s recommended if you want a softer final product.
To blanch the squash, boil it in water for 2-3 minutes, then remove it and immediately submerge in an ice bath.
After the squash has cooled, you can start your pickling process.
Serving Your Pickled Squash
Pickled squash is a great side dish or snack – perfect for summer picnics, barbecues, and more.
To serve, simply remove the desired amount of pickled squash from its container and enjoy.
For a unique twist on classic recipes, try using pickled squash as an ingredient in salads and slaws, or as a topping for tacos and burgers.
Pickled squash also pairs well with creamy cheeses such as brie or camembert to make a delicious appetizer.
Storing Your Pickled Squash
Your pickled squash should last up to two weeks in an airtight container in the refrigerator.
Store it away from direct sunlight and temperatures above 40 degrees Fahrenheit to maintain quality and freshness.
To serve, simply remove it from its container and enjoy! Pickled squash makes an excellent side dish or snack – perfect for summer picnics or barbecues!
Final Thoughts
Pickling is a great way to add flavor, extend shelf life and retain vitamins and minerals in food.
Whether you’re pickling squash for a side dish or topping tacos with it, the process of adding vinegar will help inhibit bacterial growth while preserving freshness.
With these tips on how to prepare, boil, store and serve your pickled squash, you can easily enjoy this tasty treat all summer long!
So go ahead – get creative with your pickle recipes and make something delicious today!
